Monday, July 27, 2020

Corn and Zucchini With Coconut


Summer's bounty is just shucked corn and emerald green zucchini. This week's haul from the farmers market is all about that freshness. The temptation to use these two vegetables is irresistible. Sun gold corn is shucked, silks removed and laid flat on the cutting board for easier slicing. Zucchini is easier to chop and quarter.  The topping has the amazing flavor. Grated coconut, a few spices, fresh cilantro and lime juice. Aromatic and tasty.


CORN AND ZUCCHINI WITH COCONUT
Serves 4-6


2 Zucchinis
4-5 Corn Cobs
1 tablespoon Canola Oil
A large pinch of Asafoetida or Hing
1/2 teaspoon Cumin seeds
1/2 teaspoon Turmeric powder
1/2 teaspoon Kosher Salt

Topping
1/2 cup grated fresh Coconut
1/2 teaspoon Chile powder
1/2 teaspoon Cumin powder
1/2 teaspoon Coriander powder
1/2 teaspoon Garam Masala
1 teaspoon toasted Sesame seeds
1/2 teaspoon Sugar
1 Lime, juiced
3 tablespoons Cilantro, chopped fine


Trim zucchini. Cut them lengthwise in half. Slice into half moons. Cut the half moons in half so you have quartered slices.

Shuck corn and remove silks. 

Lay the corn flat on a cutting board. Use a sharp knife to chop the kernels, vertically. Turn the cob as you cut.  This way the corn doesn't fly all over the counter. 

Heat oil in large saucepan. 

When it shimmers, add asafoetida and cumin seeds. Allow cumin to turn color to deep brown.

Scrape the corn and zucchini into the oil. 

Sprinkle turmeric and salt over veggies. Stir well. 

Add enough water to cook the veggies. 

Cover and cook till done, 10 minutes. 

Assemble the topping by mixing all the ingredients. 

When you are ready to serve, heat the veggies, scatter topping over them.


Give the veggies a good stir and serve hot.


The corn astounds us . Even after a period of cooking, we can still feel the crunch. Farmers markets are a blessing in summer!

Thursday, July 23, 2020

Apple Buns


Today is my Dad's twelfth death anniversary. I fondly remember the fun moments in our lives. I make special foods I know he would've enjoyed. It is usually something sweet. And as apples were a favorite, I make these buns. 

Bread dough forms with warm milk, yeast, sugar. It proofs easily in the ninety degree weather. Small circles of dough are filled with sauteed apples. I make eight partial slashes on the outer edges of the circle. The dough is then folded over to form overlapping petals. Another short proof and its is baked till golden brown. Dad would've loved them.


APPLE BUNS
Makes 18 medium portions


1 cup Milk
1 1/2 teaspoon active dry Yeast
1 teaspoon Sugar
4 cups all purpose Flour
2 teaspoons Kosher Salt
2 teaspoons Milk Powder
2 tablespoons Canola Oil
4 tablespoons Butter
9-10 small Apples (I used Gala)
6 teaspoons Sugar
Cinnamon Powder
1 Egg, beaten

Start the dough by placing the flour, milk powder and salt in the bowl of stand mixer.

Heat milk till warm. 

Add sugar and yeast to milk.  Stir, cover and allow yeast to bloom for about 10 minutes.

Start the mixer and add yeast liquid to flour. Let the mixer go for 5-7 minutes till the dough is tacky. 

Use a spatula to pull the dough away from the bowl. 

Drizzle the oil around the edges of the dough, making sure it gets underneath.  Turn the dough a few times till it is coated with oil. 

Cover with cloth and put in a warm place to rise for 1-2 hours, till doubled in size. 

Meanwhile make the apple filling by peeling, coring and chopping the apples into 1/2 inch pieces.


Melt butter in a saucepan.

Add apples to sizzling butter and saute till tinged brown. 


Sprinkle sugar over apples and continue to saute for 3-4 minutes till apples are a little soft. Cool the filling.

Once the dough has proofed, scrape it out onto a lightly floured counter.


Cut off a orange-sized piece of dough. Roll or pat it out to a 5 inch circle.

Use  a sharp knife or pizza cutter to make eight equidistant slashes on the outer edges of the circle. Start at the top and bottom. Then cut the sides. Finish with the middle part of the wedges.


Place  1 heaping teaspoon of filling in the center of the circle. 


Bring the wedges of the circle towards the center one at a time. They should overlap as you fold them.

Dust the crown with cinnamon.

Place the bun on a baking sheet. I made 6 to a sheet. 

Finish the others in the same fashion. 


Cover buns and let them rise for 20-30 minutes. 


Heat oven to 350F/180C.

Brush risen buns with egg. 

Bake for 25 minutes till golden brown. 


Memories of Dad are numerous! That we can fondly remember the past makes today a  blessing. 

Monday, July 20, 2020

Brussels Sprouts with Turmeric and Chiles


Can you transform Brussels Sprouts into an Indian side or subji? Yes...a resounding yes. These mini cabbages take on ethereal qualities when sauteed with Indian spices. It is a mini cabbage, having the same texture and taste, with an extra edge.   All it takes is a little imagination. And a lot of Brussels! 


BRUSSELS SPROUTS WITH TUMERIC AND CHILES
Serves 4
DF, GF, VN, WF, VG


1 lb Brussels Sprouts
3 teaspoons Canola Oil
2-3 dried Red Chiles
1/2 teaspoon Mustard Seeds
4-5 Curry Leaves
1/2 teaspoon Turmeric powder
1/2 teaspoon Kosher Salt


Trim the root ends of the sprouts. Quarter sprouts lengthwise into mini wedges. Use loose leaves as well.


Heat oil in a saucepan. I find nonstick works the best as I do not add any water.

When oil shimmers  drop red chiles and mustard seeds into oil. Wait for the seeds to pop. Allow the oil to take on chile flavors.


Add curry leaves and turmeric to oil. 


Wait a few seconds, then add sprouts to oil. Toss sprouts so they are coated with oil and spices. 


Season with salt, stir again and cover saucepan with a tight fitting lid. 

Cook over a low flame, stirring often, for 15-20 minutes. 


Uncover and enjoy with dal and rice, roti or any which way you like.


We eat the sprouts with rice. It makes a pleasant change from cabbage. Honestly, we love the taste of Brussels.....so this one is a no-brainer.

Friday, July 17, 2020

Pork With Shishito Peppers


Quick Asian is on the cards today. Pork tenderloin makes a quick stir fry. Thin slices are coated with oil and cornstarch and quickly browned. Copious amounts of onion, garlic, shishito peppers and Thai basil add tons of flavor. This is a one two three Asian recipe. Steamed rice is the perfect accompaniment. 


PORK WITH SHISHITO PEPPERS
Serves 4
DF, EF


1 Pork Tenderloin
4 tablespoons Canola Oil
2 tablespoons Cornstarch
1 large Red Onion
6 Garlic cloves, finely minced
2 cups Shishito Peppers
2 tablespoons light Soy Sauce
2 tablespoons Oyster Sauce
3 teaspoons Fish sauce
1/2 teaspoon Sugar
1/2 teaspoon ground Black Pepper
3/4- 1 cup Thai Basil Leaves 


Wash and pat dry pork tenderloin.

Cut in half. Slice each half vertically in the middle so you have 4 portions. 

Slice each portion thinly, 1/8 inch thick. Place slices in a bowl.

Peel and slice the onion thinly.

Trim shishito pepper stems. Cut big peppers in half on a bias.

Heat 1 tablespoon oil in a nonstick saucepan.

Add 1 tablespoon oil and cornstarch to pork. Use your hands to massage oil and cornstarch into pork. 

When the oil shimmers add pork to the pan. Lay pieces flat in the pan so they touch the surface. if your pan is small, do this in two batches. 

Leave pork undisturbed for 3-5 minutes, till undersides are brown. Flip pork and cook on the other side till brown as well.  Spoon pork into a bowl. 


Heat remaining oil in the same pan.

Add slices onion and garlic to the oil. Saute over a high flame till soft and fragrant. 

Add peppers and saute for 3-4 minutes. 


Spoon pork back into the saucepan. 

Add soy, oyster and fish sauces to the pan. Stir often.


Add sugar and pepper powder as well. 

Saute for a few minutes. 


Sprinkle Thai basil over pork. Stir fry for a minute. 


Serve with hot rice.


As quickly as it is made, it is eaten! 

Tuesday, July 14, 2020

Pasteles De Nata


As we host our first small dinner party in over six months, I try to walk the path we traipsed in Spain and Portugal. Colleen and Keith traveled with us through the two countries, the trip creating precious memories. It is appropriate we start with a raft of tapas and end with a popular Lisbon treat, pasteies or pasteles de nata. Colleen and I devoured them voraciously. These small Portuguese custard tarts are an egg filling in puff pastry, not too sweet, utterly irresistible to dessert lovers. The only evidence we left behind was a smattering of crumbs.

Making them is a lengthy process. A two day affair at best. Your patience will be rewarded, believe me. If patience is not your virtue, I would suggest you sample them at a good Portuguese bakery! 

PASTELES DE NATA
adapted from George Mendes
Makes 24 mini tarts


Pastry
1/2 cup Butter, softened
3/4 cup all purpose Flour
1/3 to 1/2 cup Water
1/4 teaspoon Kosher Salt

Filling
1/2 cup Sugar
1/3 cup Water
1 small Cinnamon Stick
1/2 cup Milk
3 tablespoons Milk
1/4 cup all purpose Flour
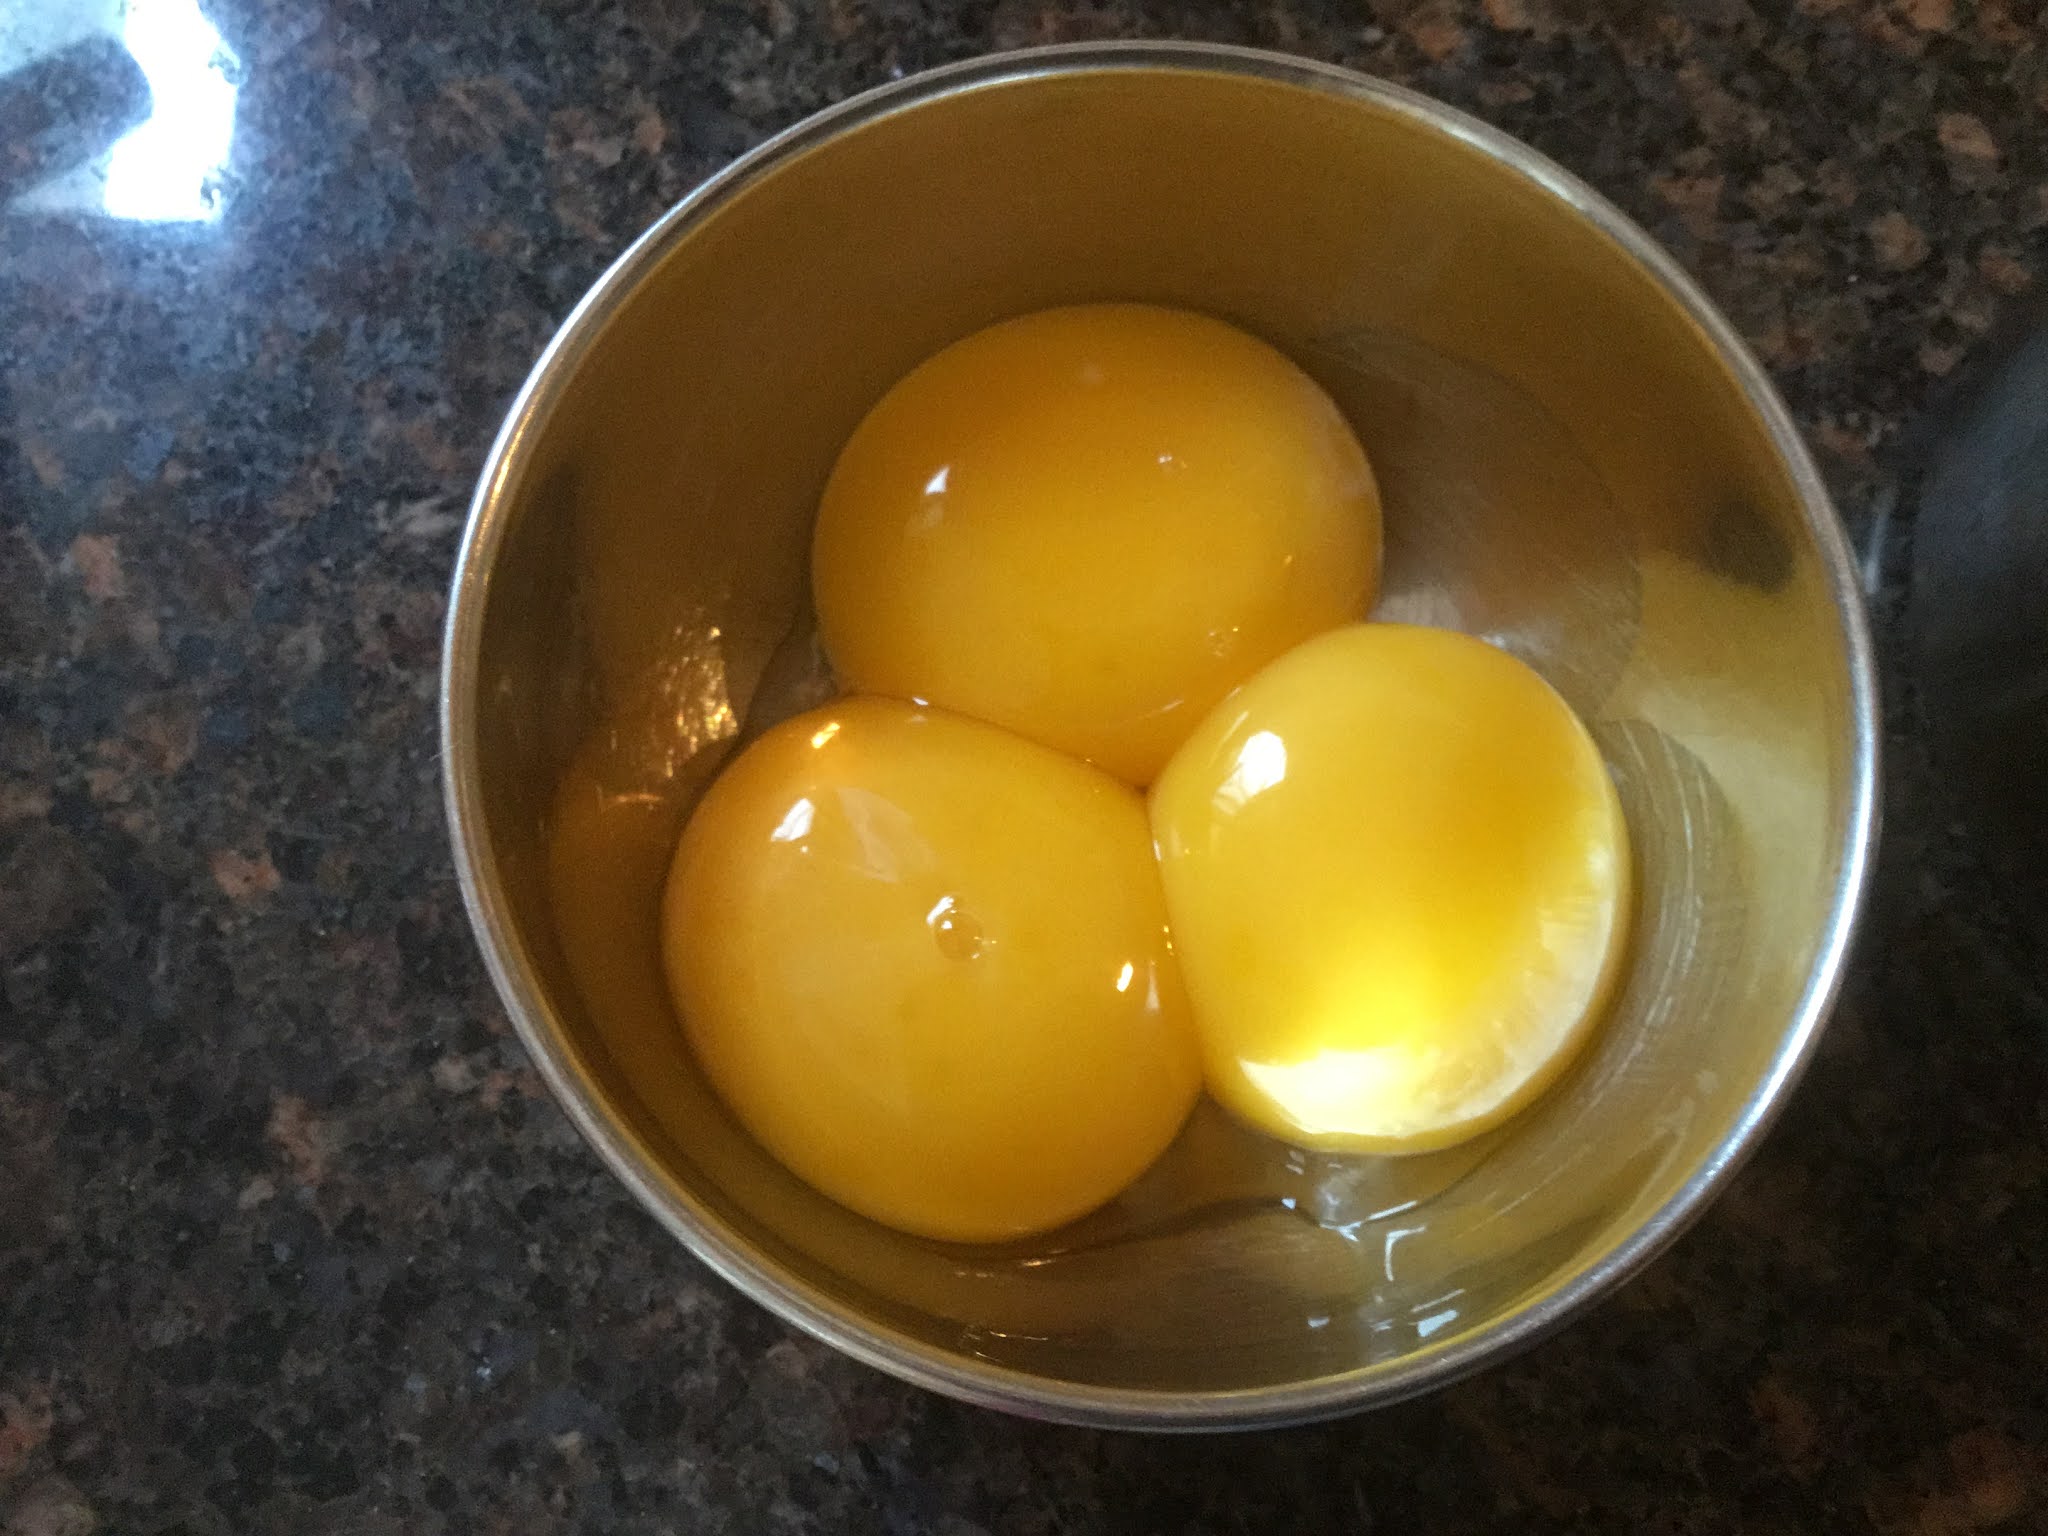
3 Egg Yolks


Make the pastry at least 4-5 hours prior to baking the tart. It needs to be firm. An overnight rest in the fridge is the best option. 

Whisk butter till smooth. 

Make the dough by mixing flour, water and salt till soft and tacky. Use a stand mixer, food processor or your hands. 

Roll dough into a 10x6 inch rectangle. Cover with a tea towel and let it rest for 15 minutes.


Flour the counter and rolling pin before you roll the dough again. Roll it out into a 15 inch square. Dough will be very thin. 


Spread 1/2 of the butter over the lower half of the dough. 

Use a bench scraper to lift the top half over the lower portion of dough. Pinch the edges to seal them. 


Roll the dough into a 10 inch (or as big as you can roll) square again. Use more flour as needed. Butter might ooze out the sides. 

Spread the remaining butter all over the dough. 


Starting with the edge closest to you, roll the dough into a toght log. Wrap in plastic wrap. 


Place log in the fridge for at least 4 hours. 

Make the filling by combining sugar, water and cinnamon stick in saucepan. 

Bring to boil and cook for a minute. Take off the heat and cool.


Heat 1/2 cup milk in an another saucepan till bubbles form around the edges of the saucepan. 

Whisk remaining milk with flour till smooth. 


Whisk flour mixture into hot milk, stirring continuously till thick.

Add sugar syrup to the milk as well. 

Return saucepan to a low flame and cook, stirring constantly till thickened 5-6 minutes. 


Whisk egg yolks into custard one at a time, whisking well after each addition.


Keep custard warm while you make the tart shells.

Heat oven to 425F/220C.

Take log out of the fridge. 

Cut log into 24 slices, 1/2 inch thick. The best way is to cut log in half, then divide the halves equally. 

Use two mini muffin tins. 

Place a cut slice into the muffin tin so you see the spiral horizontally. Use a melon baller to make a hollow in the middle of the slice, pushing the dough up towards the rim of the muffin tin. Repeat the process for all slices. 


Fill 1 heaping tablespoon of filling into each tart shell. 


Place muffin pans on  baking sheet and bake for 30 minutes till tops are golden brown.


Take them out of the oven and cool on a wire rack for 5 minutes. Pop them out of the muffin tins and enjoy them warm. 

Eat them the same day if possible. They taste best the day they are made.
 

 Our guests savor the evening. The company of loved ones is a rarity for observant individuals in the pandemic.....so this is the cherry on top of the sundae. More memories to relish!

Tuesday, July 7, 2020

High Jump Shrimp Curry


It's not enough that the name is enchanting,  the ground masala curry raises the stakes mile high. Atul Sikand posts a recipe on Sikandalous using this masala with potatoes. I read it and drool. In no time I find myself grinding  fresh paste and applying most of it to the potatoes. They turn out delicious. The remaining paste is refrigerated and forgotten for a few days. A fridge clean up uncovers the paste, which I opportunely 
turn  into a  shrimp curry. And so a revelation is born!  

The masala paste is  so versatile and especially adaptable.  Atul makes potatoes, I make shrimp. This time I make the paste deliberately for the curry. Toasted coriander seeds are ground with fresh grated coconut, chile powder, paprika, peppercorns and tamarind paste.  Sauteed in hot oil, flavored with curry leaves, the paste turns fragrant. Coconut milk, kokum pods and shrimp finish the curry. A spoonful of curry and rice makes dinner a happy place.

HIGH JUMP SHRIMP CURRY
Loosely adapted from Atul Sikand
Serves 4-6


Masala Paste
1 tablespoon Coriander seeds
5 tablespoons fresh grated Coconut
1 1/2 teaspoons Chile powder
1 tablespoon Paprika
1 teaspoon Peppercorns
1 tablespoon Tamarind Paste

1 pound Shrimp
2 teaspoons Canola Oil
1 sprig Curry leaves
1 cup Coconut Milk
5-6 dried Kokum
1/2 teaspoon Kosher Salt
Cilantro leaves for garnish


Toast the coriander seeds till golden. Do not use oil. 

Grind toasted coriander seeds, and all other masala ingredients to a smooth paste. Add little water as needed till paste is smooth. 

Peel and devein shrimp. Keep aside.

Heat canola oil in  a saucepan. 

Add curry leaves to hot oil.

Follow it by adding the masala paste. Saute paste over low heat till fragrant, about 5 minutes.


Rinse kokum pods well. Add to the masala.


Pour coconut milk  into masala.

Stir well and bring to a simmer. Cook on low heat for 3-5 minutes.


Raise heat to medium high and add shrimp. 

Cook shrimp for 4-5 minutes until just cooked.  This is the way I like my shrimp cooked. I'm not a fan of well- cooked shrimp. 


Garnish with cilantro.

Serve with steaming hot rice and papad.


Shrimp curry and rice. Papad roasted or fried. Eating this food with your hands. Licking curry off your fingers. Nothing could be more enjoyable than this.